Roof trusses are an essential part of any building’s construction. They ensure that a roof can withstand severe weather, age, and other damage without compromising its structure. Because they support a roof’s integrity, it’s important to understand how to install them properly.
Importance of Proper Installation Techniques

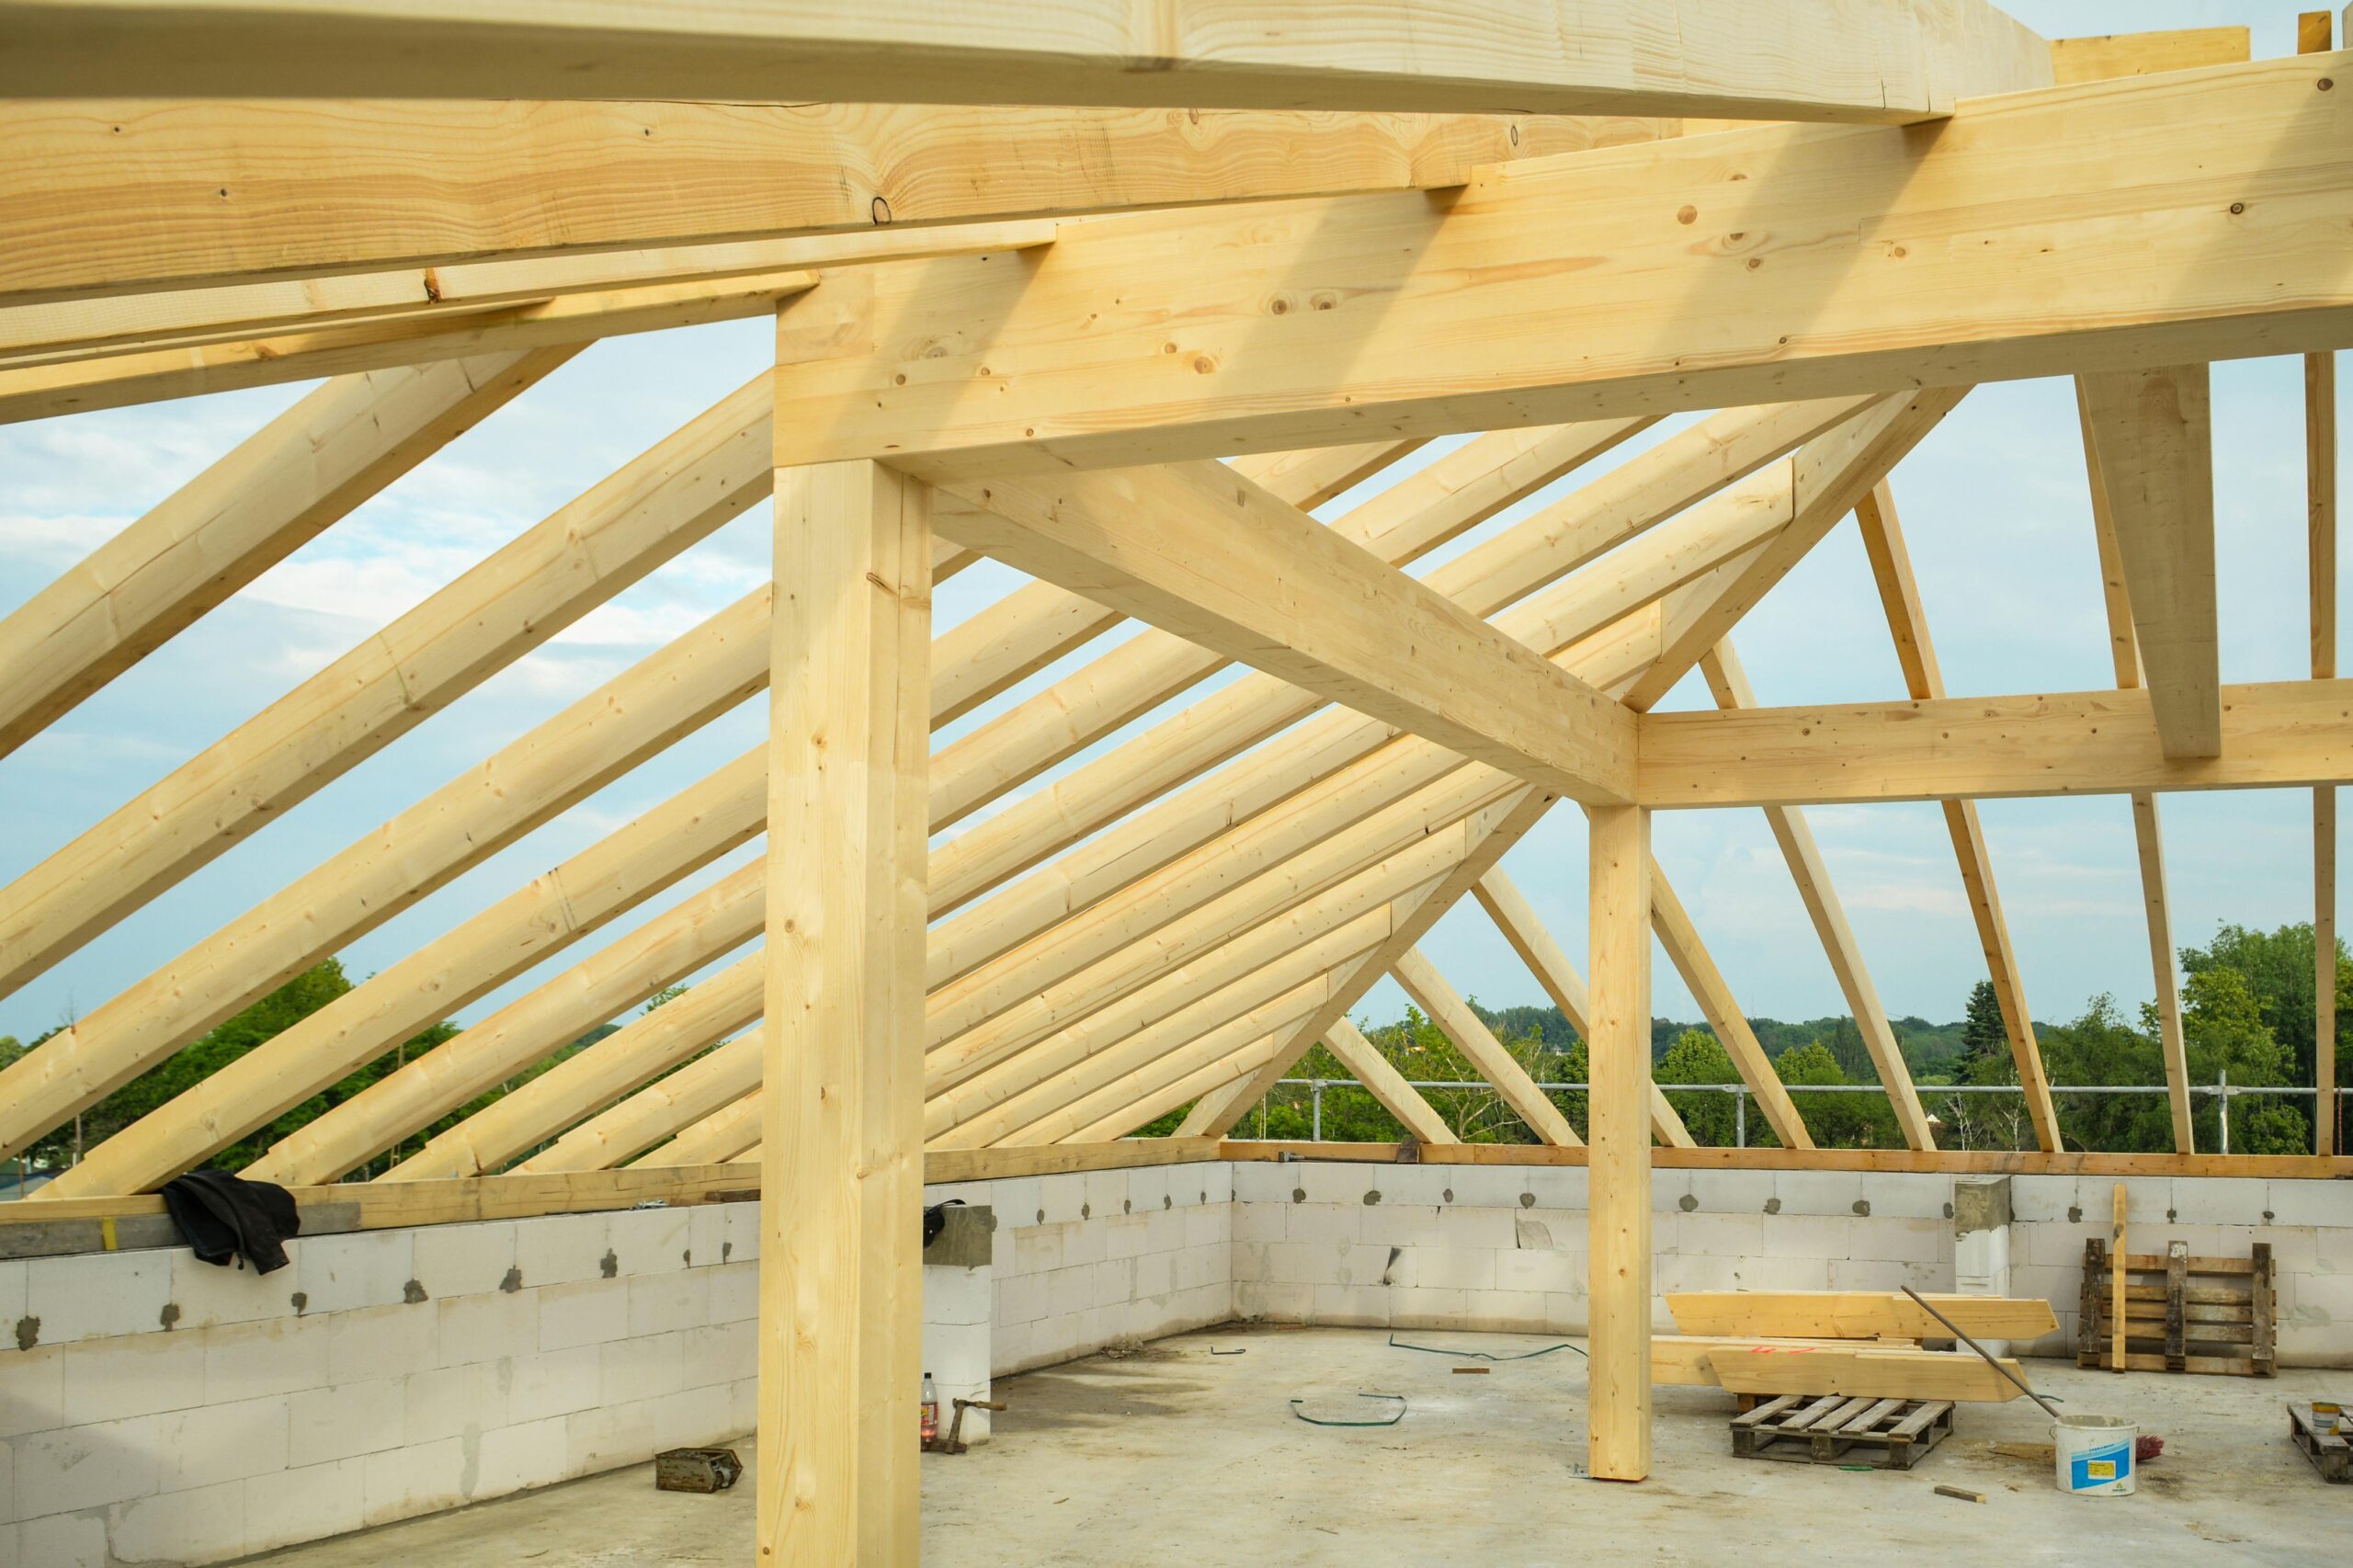
Trusses have three parts: top chords, bottom chords, and web bracing. The framework consists of posts, struts, and rafters. Incorrect installation can impact load-bearing capacity and overall safety.
Key Tools and Equipment Needed
Essential tools for installing trusses include:
- Measuring and Marking Tools: Tape measure, chalk line, and framing square.
- Lifting Equipment: Ladder or boom lift for reaching high points.
- Power Tools: Cordless drill, circular saw, and nail gun.
- Truss and Pole Lifters: Telehandler or crane for larger buildings.
- Structural Fasteners: Use high-quality nails, screws, and fasteners to ensure long-lasting support.
Additionally, wear personal protective equipment (PPE): safety goggles, gloves, ear protection, and hard hats.
Step-by-Step Roof Truss Installation Process
Follow these expert-recommended steps for a smooth installation:
Step 1: Site Preparation
Clear debris and verify measurements. Mark truss positions and wall plates for accurate placement.
Step 2: Lift and Position the Trusses
Use lifting equipment to position the first truss vertically and brace it. Use it to brace the second truss horizontally. Repeat until all trusses are in position.
Step 3: Put in Permanent Bracing
Attach diagonal bracing at 45° angles to the rafters. Nail to the wall plate and add longitudinal braces. Remove temporary bracing after securing everything.
Step 4: Check the Alignment
Ensure all trusses are aligned vertically and not bowing. Once confirmed, installation is complete.
Common Mistakes to Avoid
Improper installation can lead to structural issues. Avoid these mistakes:
Changing the Foundation
Confirm foundation plans before starting. Do not modify once installation planning has begun.
Supplying Incorrect Measurements
Incorrect measurements compromise stability. Double-check and confirm with all team members.
Using Incorrect Bracing
Ensure bracing is appropriate for the truss size to prevent shifting or bowing.
Using the Wrong Size Connector Plates
Incorrect plates may cause trusses to bow or fail. Verify sizes before installation.
Not Taking Safety Seriously
Always wear PPE and follow OSHA guidelines during installation.
Tips and Tricks from Industry Experts
- Use High-Quality Materials: Trusses should be made from durable, reliable materials. Learn more.
- Double-Check All Measurements: Precise measurements are critical to success.
- Store Materials Properly: Follow manufacturer guidelines to preserve quality.
- Get Professional Help: Consult a framing subcontractor if unsure at any point.
Use Berry Home Centers for Your Next Project

Mastering truss installation starts with premium materials. Berry Home Centers’ roof trusses are lightweight, durable, and meet or exceed industry standards. We use only the highest-quality lumber and truss plates.
Contact Berry Home Centers to learn how we can help you make every building project a success.