
Installing an interior door correctly is essential for energy efficiency, security, operation and the optimal enjoyment of your living space.
Understanding how to measure, frame, hang and finish your interior door will help ensure a long-lasting, high-quality solution for your home.
Types of Interior Doors
There are various types of interior door products available on the market, ensuring you get the specific design you are after.
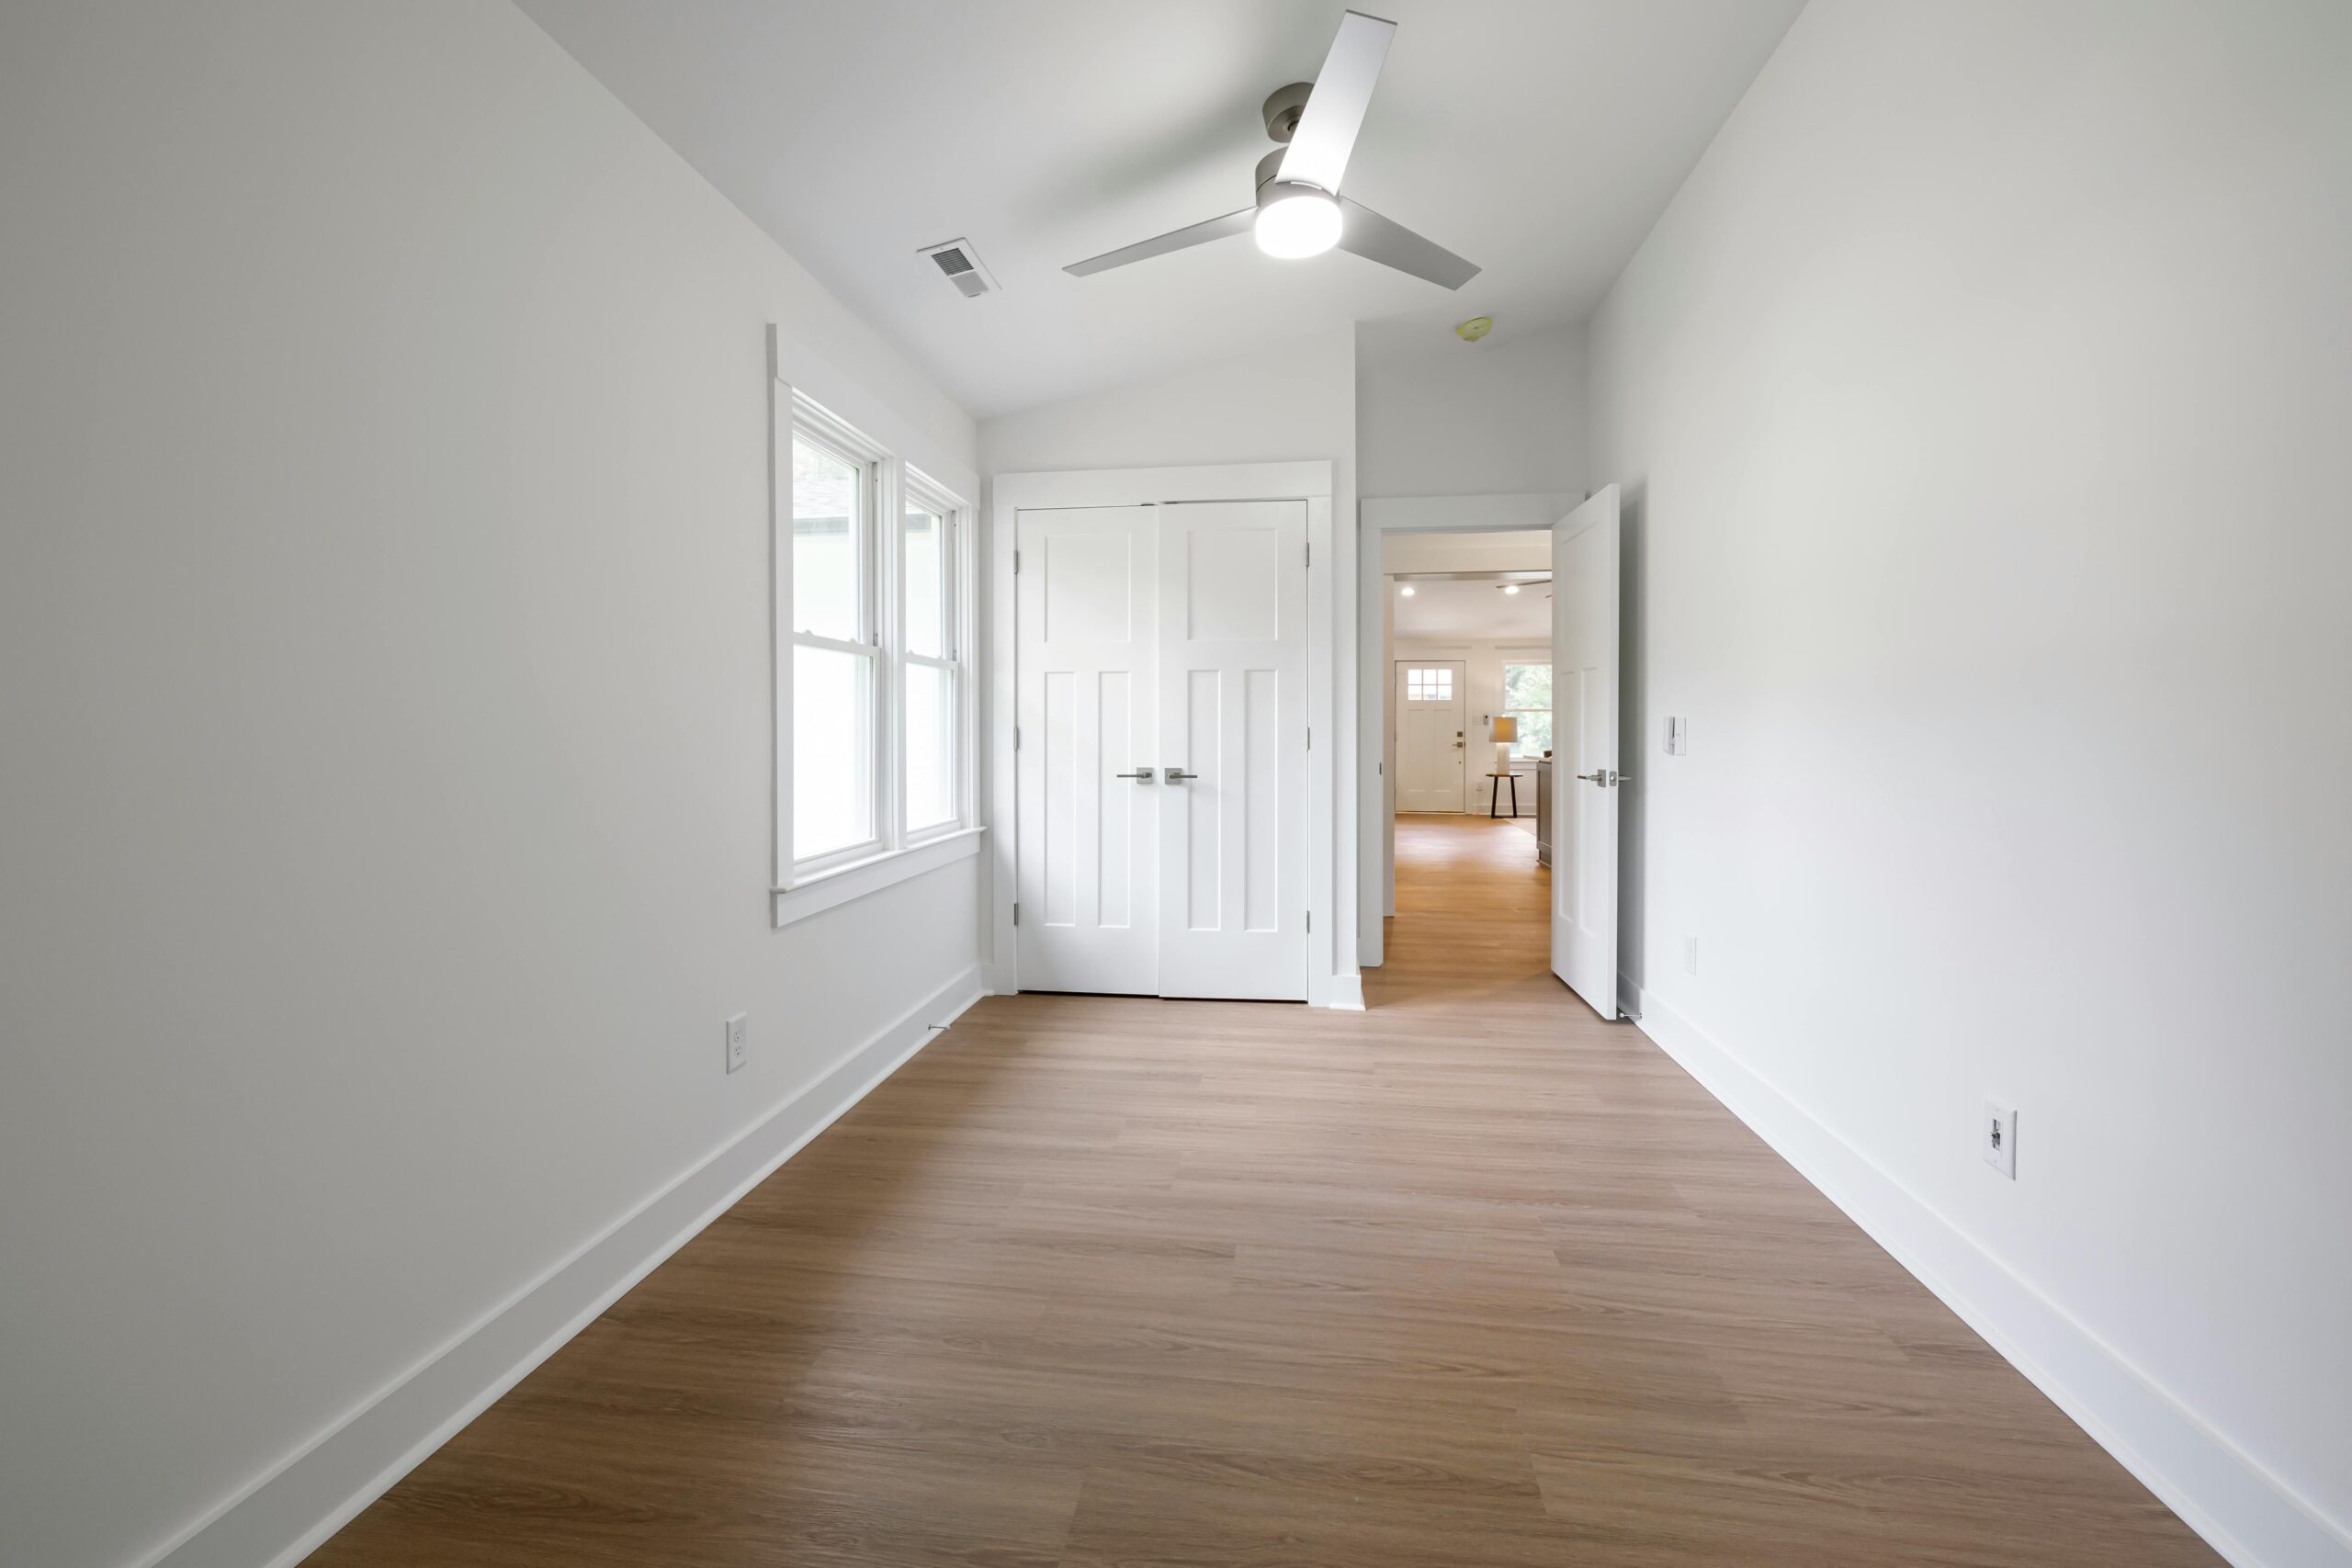
Slab Doors

The most simple, traditional interior door style is a slab door. Hinges are used to attach the slab door to the frame, and the door will swing open and shut. These can be used just about anywhere in the home, but are typically seen in bedroom, bathroom and closet spaces.
Bi-Fold Doors
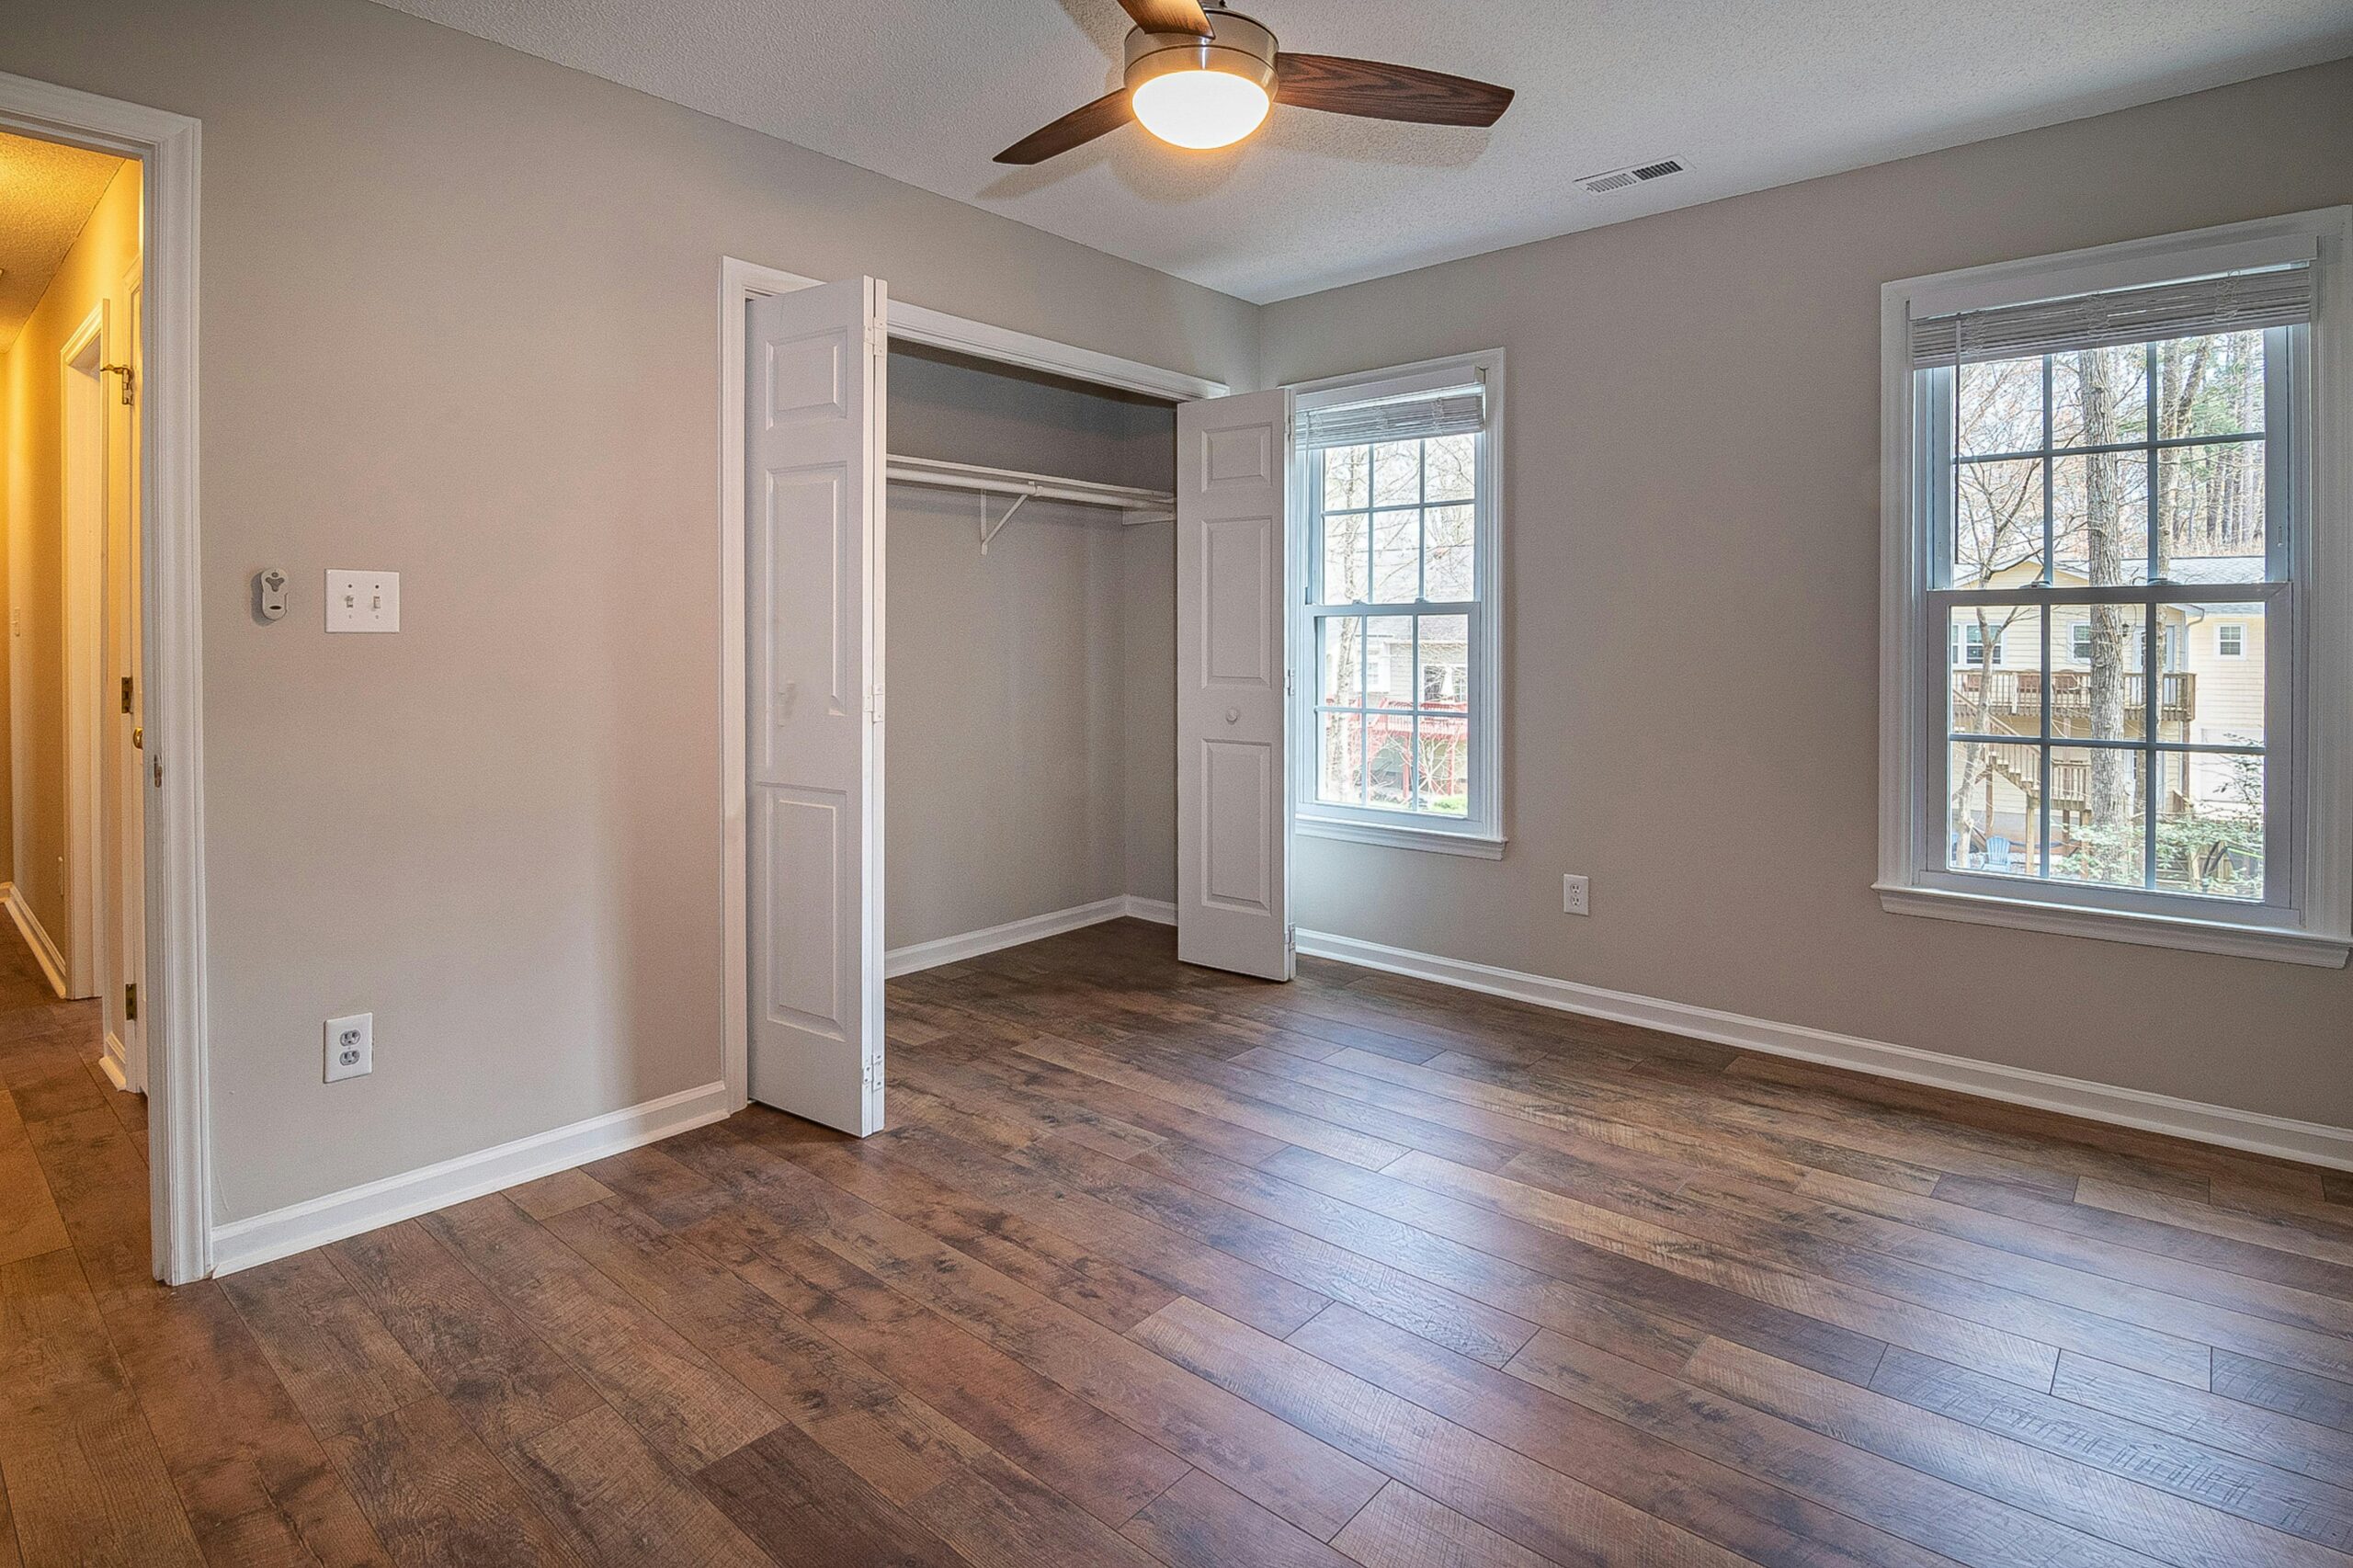
Commonly used in closet designs, bi-fold interior doors have multiple door panels that fold against one another like an accordion. The panels are attached to a track system, allowing panels to fold and slide open once a person pulls on the doors’ knobs or handles.
French Doors

Interior French doors feature two door slabs on the right and left side, swinging open from the middle. Interior French doors typically feature glass panes, allowing for a more open concept in larger living spaces.
Barn Doors
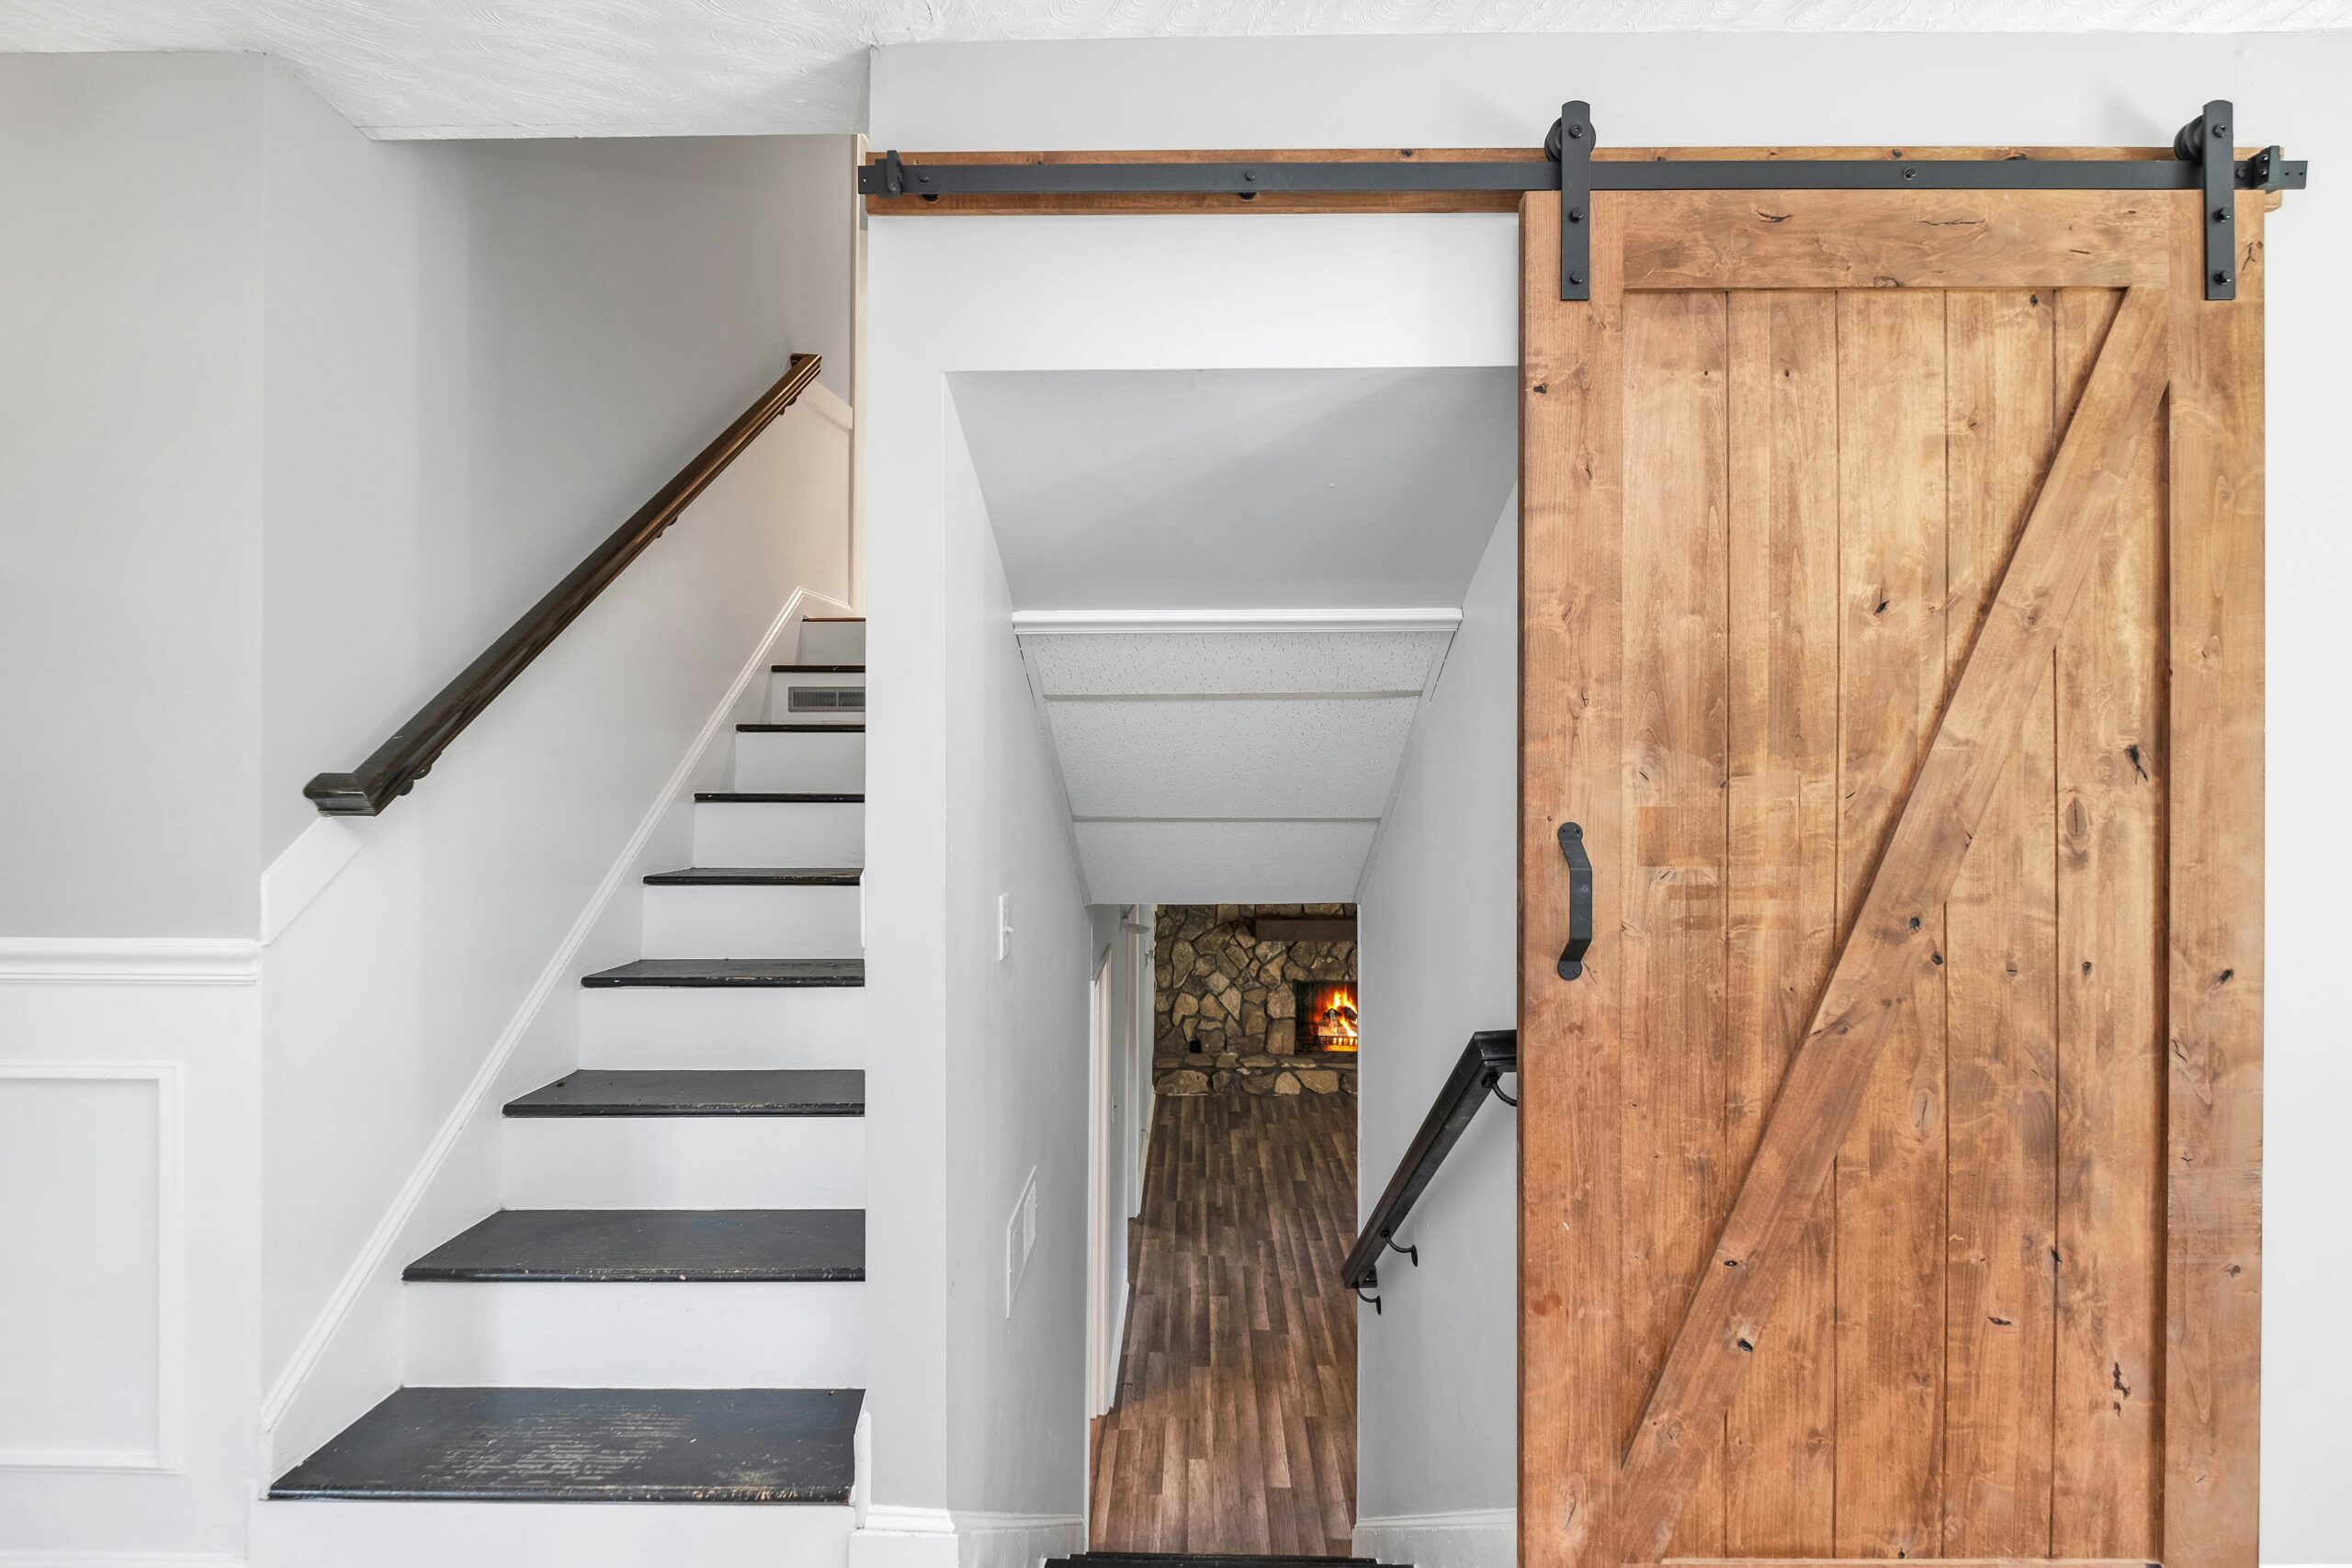
Becoming a more popular option in recent years, barn doors can feature one or two slabs on a wall-mounted track system. If the door is a single slab, it can slide left or right, depending on how the track system is installed. If two slabs are used, the right and left slabs will slide out, opening from the middle. These are great options for closets, basements, pantries and laundry rooms.
Features of Interior Doors
Considering the features of interior doors will help ensure you get the performance you need from your design.
Sound-Dampening Doors
If quiet living spaces are important to you, doors with solid core interiors (rather than traditional hollow cores) can reduce sound intrusion into surrounding rooms. What’s more, a solid core can reduce the likelihood of shrinking or warping due to temperature.
Fire-Rated and Impact-Rated Doors
Security is paramount for living spaces, and some doors are specifically designed to resist impact or fires. In addition, many doors are designed with multi-point security locks for extra protection and peace of mind.
Energy-Conserving Doors
Many doors are built to reduce heat loss from rooms, decreasing energy consumption and energy costs for households. These doors often include specially designed seals, corner pads and/or glass designed for use in particular climates.
Doors for Natural Light
Natural light can not only reduce the energy costs associated with using artificial lighting but it has also been proven to have positive effects on health and wellbeing. Doors that allow for natural light include French doors, patio doors, barn doors and other types of doors that include glass panels.
Preparation and Planning for Installation
To prepare for an interior door installation, you will first need to measure the space where the door will be installed. Measure the width, height and depth of the door’s frame or the space that the frame will be added to if not already in place.
Next, make sure that you have chosen the right door for your desired purpose. Consider materials and aesthetics, as well as any additional features for security, energy conservation, sound reduction or additional natural light.
You will also need to make sure you have the right tools for the job. These typically include:
- Tape measure
- Pencil
- Painter’s tape
- Level
- Shims
- Handsaw/jigsaw
- Screwdriver
- Electric drill
- Milling cutter
- Hammer
- Chisel
- Nails and screws
- Trowel
- Clamp
- Wedges (to be used as spacers)
- Expanding foam
- Container for dry masonry mixture
Step-by-Step Installation Guide
A door installation will vary depending on whether you are installing a pre-hung door, which includes the frame, hinges, locks and latches, or a just door slab, which is just the door panel. Here, we will guide you through both processes.
Installing a Pre-Hung Door
The first step to installing a pre-hung door is to remove the original trim and frame if it is still there. This ensures there is space for the new frame to be installed.
Next, place a leveling tool on the floor and check that it is plumb. If it is not, use shims to level it — nail them to the floor on the hinge side of the opening until the floor is plumb. However, if the side of the door that will contain the latch is lower, you won’t need to add shims to the floor.
After this, check that the door fits into the opening by pushing it against the opening until you can see that it lines up correctly.
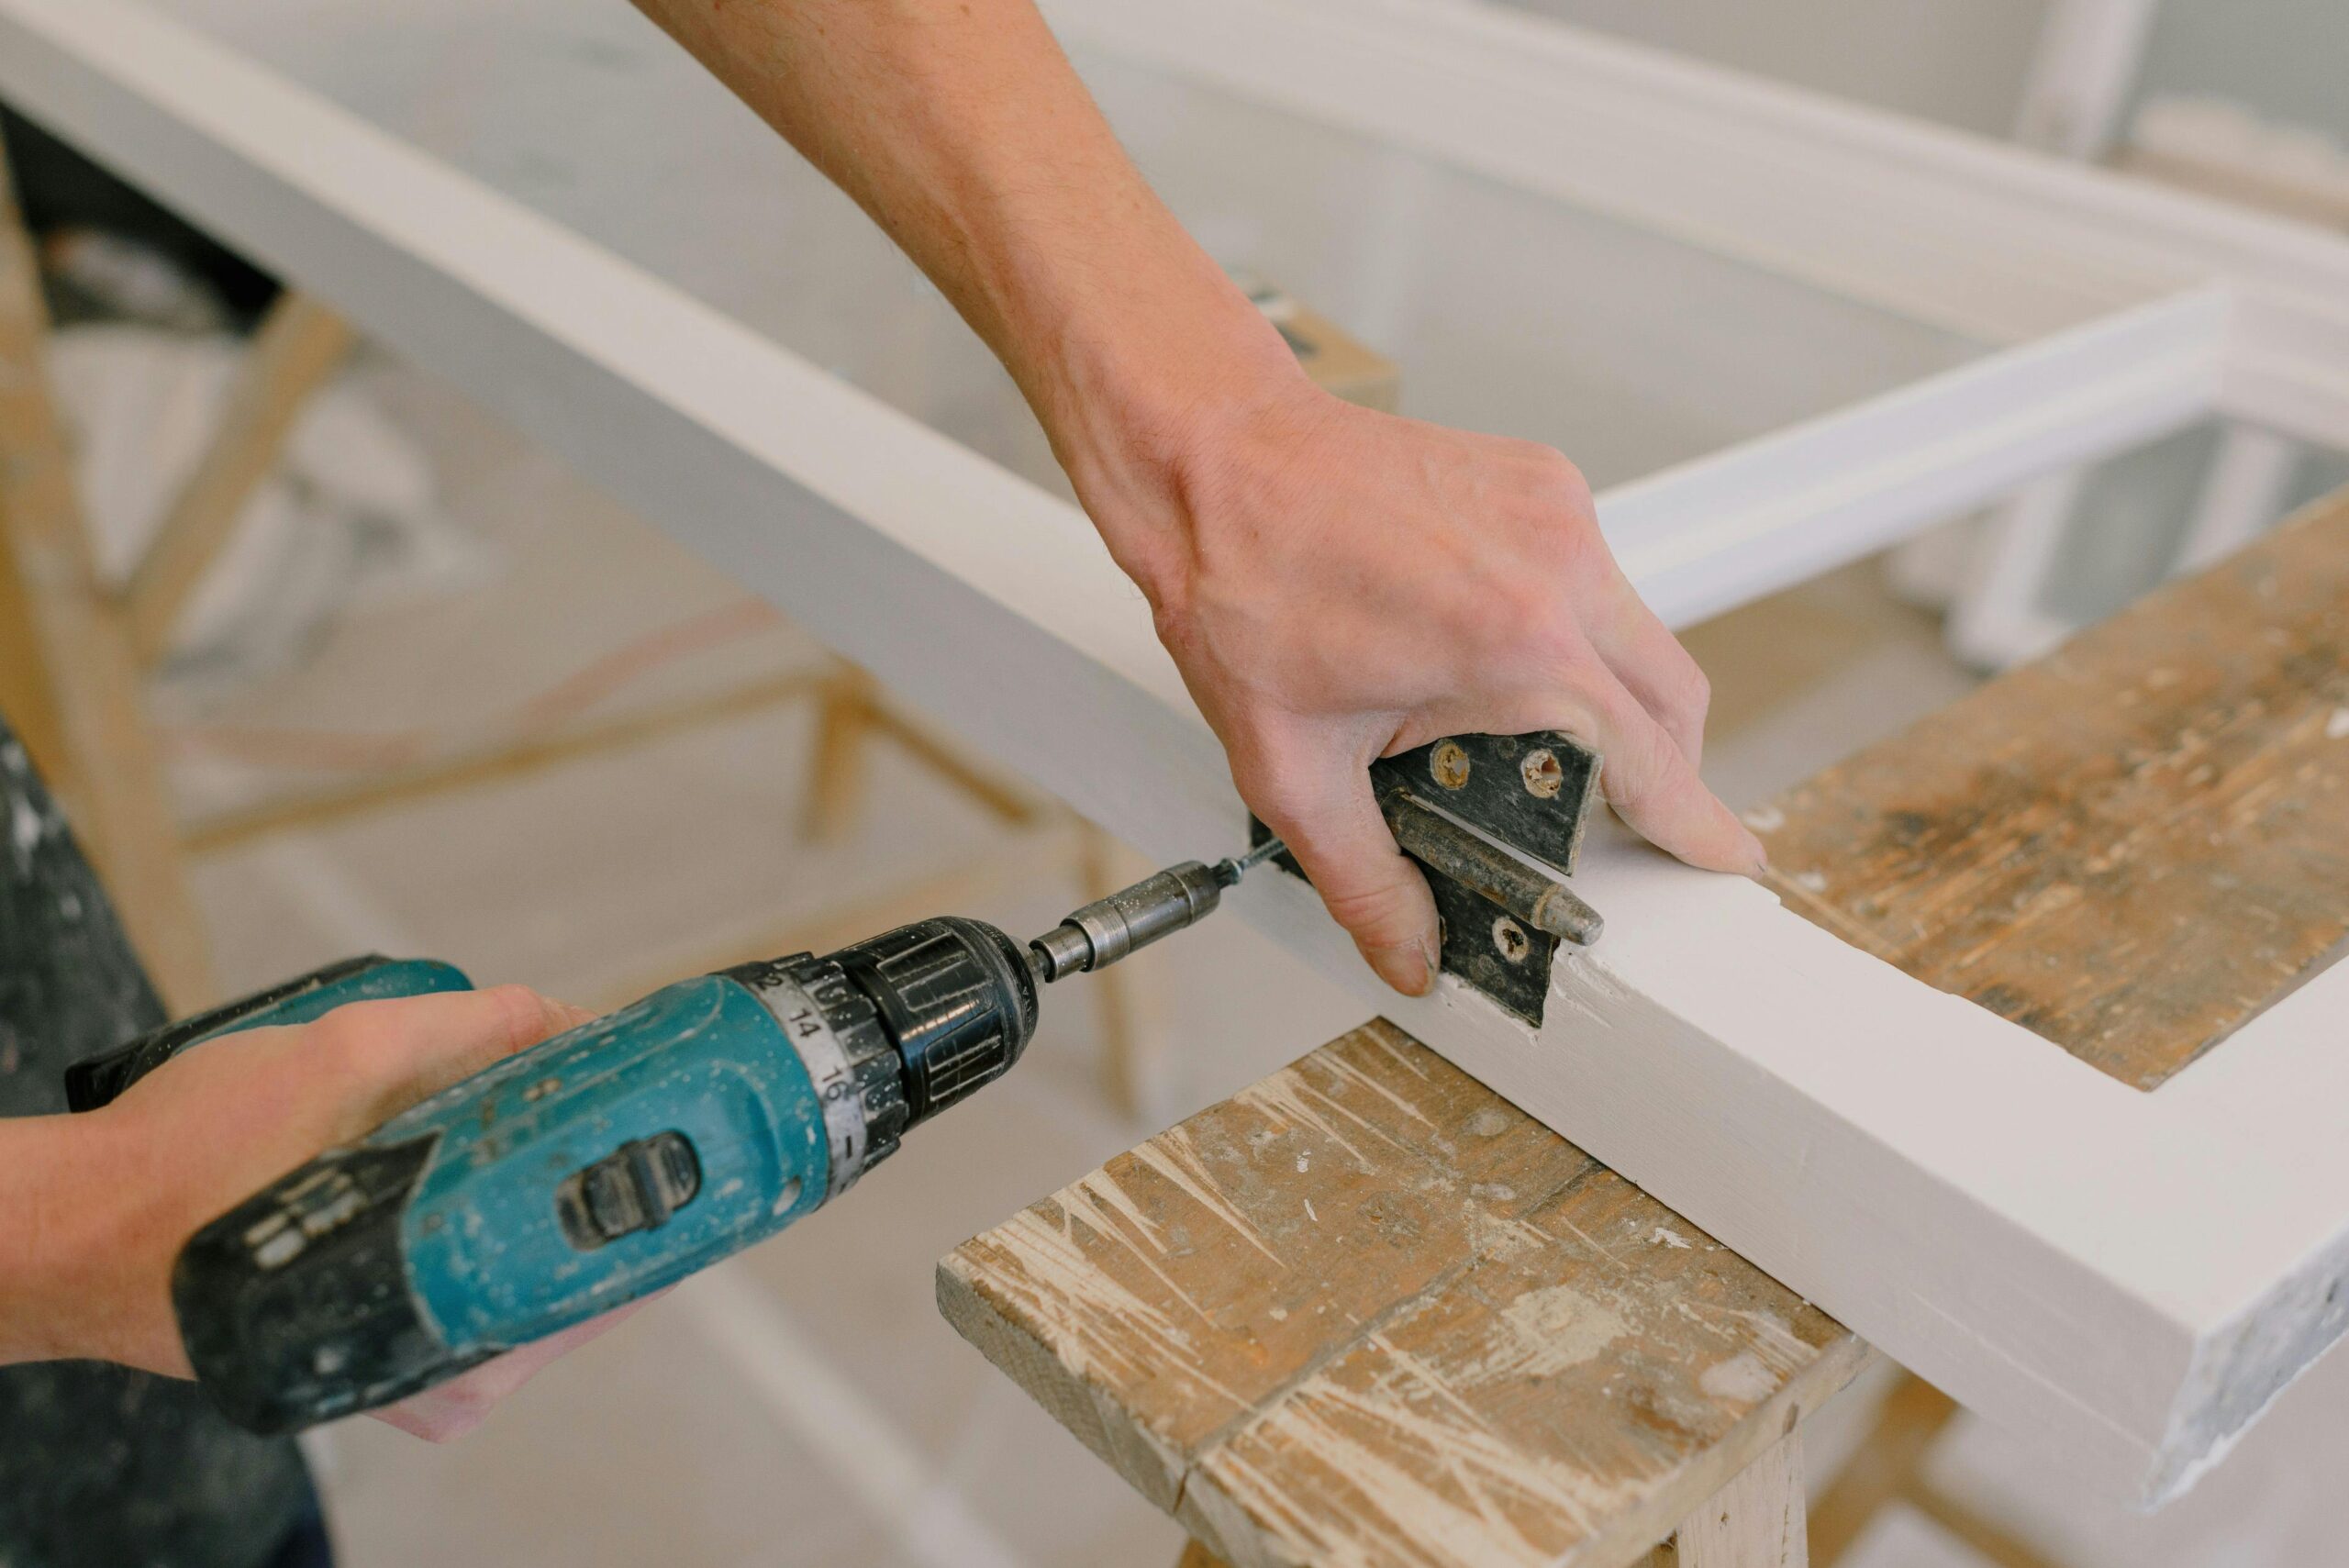
Next, nail the frame into place on the hinge side with 8D finish nails — 1 nail placed to fit each hinge. Use the hammer to drive these nails through the frame and into the opening.
Add shims to the other side (the latch side) of the frame to make it plumb — use the leveling tool to check this. Then, hammer 8D nails through the frame, the shims and the opening to fasten the opening side of the doorframe.
Installing a Door Slab
To install a door slab, first measure the height and width of the frame and door. Make sure that the frame is ¼ of an inch taller and wider than the door slab. If the slab needs to be trimmed less than ⅛ of an inch smaller, you can do this with a hand plane.
If it needs to be trimmed more, you can use a circular saw after marking how much to trim off with painter’s tape or pencil. Remember to cut the bottom side of the door and trim the same amount from both sides if you need to lessen the width.
Next, mark where the hinges and lockset must be added — you can use the old door as a reference to help with this, and score the same placements on the new door with a knife. On the new door, trace the location of the knob and latch with a pencil to reflect their placement on the old door.
After this step, use a drill to make a hole (the size of the circle that you’ve marked) on the new door slab halfway through its depth. Turn the door over onto the other side, and drill at the corresponding spot until the hole goes through the entire depth of the slab. Then, use a spade bit to drill an additional hole for the door’s latch.
Installing the Latch and Lockset
First, install the latch with a hand screw. Then, fix the doorknob’s connecting rod to the latch’s hole, and place the opposite doorknob in the corresponding place. Screw both sides of the knob into place and tighten it with a hand screw. Make sure that the doorknob works properly with the latch.
Common Installation Mistakes to Avoid
The most common mistakes to avoid when installing an interior door are:
- Choosing the wrong product
- Not having the right tools
- Neglecting to measure the frame, door slab and opening
- Not correcting an uneven floor with shims
- Making an opening that is too small or too large for the frame and slab
Tips for Ensuring Proper Fit and Alignment

To ensure a proper fit and alignment when installing an interior door, make sure to measure all dimensions of the opening, frame and door slab thoroughly and correctly.
For a rough guide, the height of the opening should be around 80 inches. The width of the opening may vary, ranging from 27 inches to 60 inches. The height of the door slab should be around 60 inches, and its width should be around 4 inches less than the opening’s width.
Thankfully, you can fix alignments if they are not optimal by using spacers, shims or even expanding foam!
Contact Berry Home Centers for Exceptional Interior Door Products
Berry Home Centers is the leading independent building materials supplier in Southwest Virginia and Northeast Tennessee.
We offer a wide range of top-quality interior and exterior doors, including products from world-renowned brands like Therma-Tru, Masonite, Steves and more. In addition, our friendly team has the expertise to advise on the best products and materials for your specific needs.
For more information on our extensive product range, check out our website and contact our team for a quote.